Features
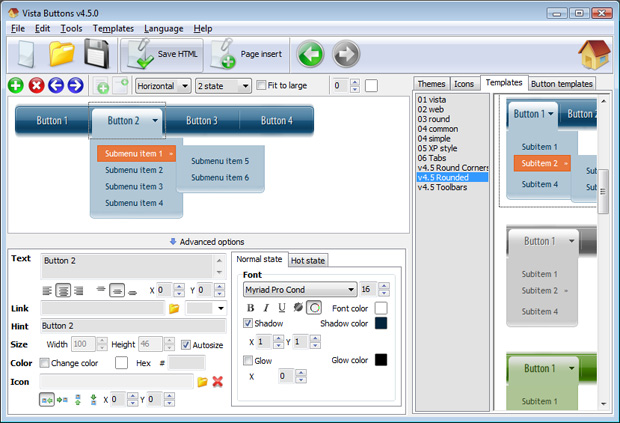
Fully Customizable Every button or menu parameter can be easily customized in Dreamweaver Menu Extension to fit your web site design and your needs. Create your very own html menus, as simple or as complex as you want!
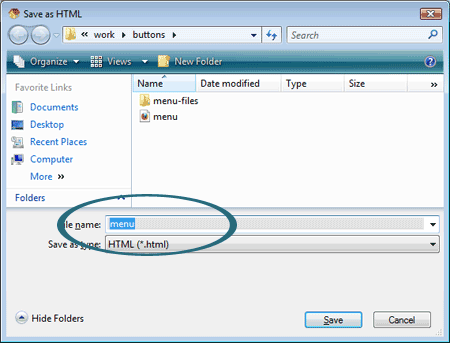
Dreamweaver Replay Flash Button Insert button script into the existing HTML page You can insert your button script into the existing HTML page. To do so, click "Page insert" button on the Toolbar.
Dreamweaver Menu Mouse Up Widest cross-browser compatibility The html menus generated by Dreamweaver Menu Extension run perfectly on all old and new browsers, including IE5,6,7,8, Firefox, Opera, Safari and Chrome on PC, Mac, and Linux. Dreamweaver Menu Extension menus have a structure based on HTML list of links (LI and UL tags), readable by any search-engine robots and text browsers.
Html Menu Plugins Dreamweaver Spry Samples Search Engine Friendly Dreamweaver Menu Extension generates html code which is transparent to search spiders.
Great Looking Web Navigation with Minimum Effort Dreamweaver Menu Extension provides 500+ web buttons, 100 submenu designs, 6600+ icons, 50 ready-made samples, so you'll create really nice looking website html menus and html buttons with little or no design skills at all! Vista, XP, Win98, Mac, Aqua buttons, round, glossy, metallic, 3d styles, tab menus, drop down menus will be a breeze!
Integration with popular web authoring software. Dreamweaver Menu Extension integrates with Dreamweaver, FrontPage, and Expression Web as an extension/add-in. Create, insert, modify a menu without leaving your favorite web design framework!
2.0 Buttons by Web-Buttons.com v3.0.0 


 (please include template name in the message title)