Features
High Quality and Professional Results You don't have to know HTML, JavaScript, CSS or any other coding languages to make multi-state rollover web buttons, professional cross-browser, search engine friendly DHTML menus. All you have to do is make some clicks and adjust buttons as you wish for them to appear. Vista Web Buttons will generate all necessary images, html, javascripts, css styles automatically!
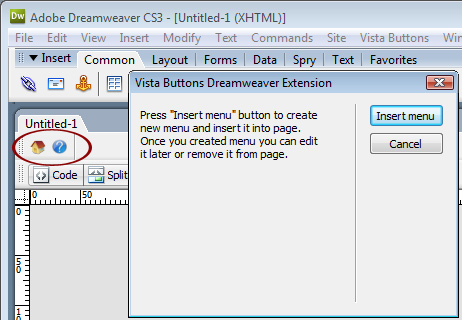
Formatar List Menu Dreamweaver Easy to UseWith Vista Web Buttons clear and comprehensible interface, you need just 4 simple steps to get your web buttons or html menu ready and if you use a pre-designed sample as a base you'll end up even faster!
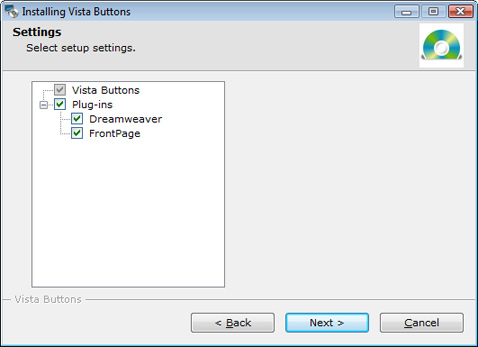
Tree Menu Pada Dreamweaver Cs4 Save project. Save your image buttons as html You can save current project in the project file (*.xwb) or into the HTML file (*.html).
Free Rainbow Menu Generator Dreamweaver Tutorial Dreamweaver Interface Text-based menu You can create a menu with text-based top items. Such menu will be loaded more quickly on your website (in comparison with image-based navigation).
Menu structure is comprised of HTML nested UL and LI tags. Standards compliant menu structure is simple to customize and update.
Multilanguage User Interface (MUI) Since the version 2.79 Dreamweaver Menu Extension supports the multilanguage user interface. Dreamweaver Menu Extension is translated into the numerous of languages such as: German, Dutch, French, Italian, Spanish, Portugues, Arabic, Polisch, Romanian, Hungarian, Bahasa Malaysia.
Great Looking Web Navigation with Minimum Effort Dreamweaver Menu Extension provides 500+ web buttons, 100 submenu designs, 6600+ icons, 50 ready-made samples, so you'll create really nice looking website html menus and html buttons with little or no design skills at all! Vista, XP, Win98, Mac, Aqua buttons, round, glossy, metallic, 3d styles, tab menus, drop down menus will be a breeze!
2.0 Buttons by Web-Buttons.com v3.0.0 


 (please include template name in the message title)