Dreamwaver Menu Screenshots
Video Tutorial
The Vista Buttons Menu Extension for Dreamweaver allows you to create powerful dropdown menus, directly in Dreamweaver 3.0, Dreamweaver UltraDev 1.0, Dreamweaver 4, Dreamweaver UltraDev 4.0, Dreamweaver MX, Dreamweaver MX 2004, Dreamweaver 8, Dreamweaver CS3 or CS4. Create, insert, modify a css menu without leaving your favorite web design framework! Fully customizable appearance! Use one of the 500+ web buttons, 100 submenu designs, 6600+ icons, 50 ready-made samples, or create your own using the theme editor. With support for custom images, icons, colors, font styles, the possibilities are limitless. You'll create really nice looking web menus and web buttons with little or no design skills at all!
Menu, Button, and Icon Collection
Dreamweaver Menu Extension provides huge collection of 1400 web buttons, 6600 icons, 300 ready-made samples, so you'll create really nice looking menus and buttons with little or nodesign skills at all! Web 2.0, Mac, iPhone, Aqua buttons, Vista, XP, transparent, round, glossy, metallic, 3d, tab menus, drop down menus will be a breeze!Button and Icon Samples
Features
Text-based menuYou can create a menu with text-based top items. Such menu will be loaded more quickly on your website (in comparison with image-based navigation).
Menu structure is comprised of HTML nested UL and LI tags. Standards compliant menu structure is simple to customize and update.
Left Side Menu Bar Html Integration with popular web authoring software.
Dreamweaver Menu Extension integrates with Dreamweaver, FrontPage, and Expression Web as an extension/add-in. Create, insert, modify a menu without leaving your favorite web design framework!
Dreamweaver Archive Menu Widget Insert button script into the existing HTML page
You can insert your button script into the existing HTML page. To do so, click "Page insert" button on the Toolbar.
Text Based Navigation In Dreamweaver Dreamwaver Menu Cost Effective
Stop paying month-to-month subscription to web image and icon collections! Don't waste your money on licenses for every new domain where you want to place the menu! Pay once, use for life, anywhere!
Css Drop Down Menus
Create drop down menus based on css using Dreamweaver Menu Extension. Make various styles for each submenu item adjusting css styles.
Fonts, Borders and Background Colors
Use any necessary font of any color, size and font decoration for normal and mouseover state. Create any available type, thickness and color of a menu's frame. Choose any color for backgrounds of submenus and items.
How to use Dreamweaver Menu extension
To install the menu into your html page you should do the following things:
Create and save your buttons in any temp folder using Vista Buttons application. It will be better to export all menu code to external .js file. Go to "Tools/Export options...". Check "Save all menu params to js file" option.
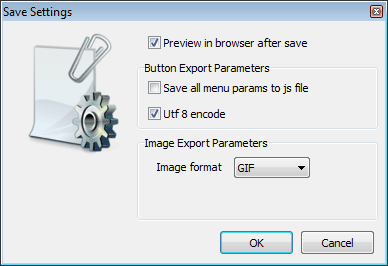
You can use "Save as HTML" function.
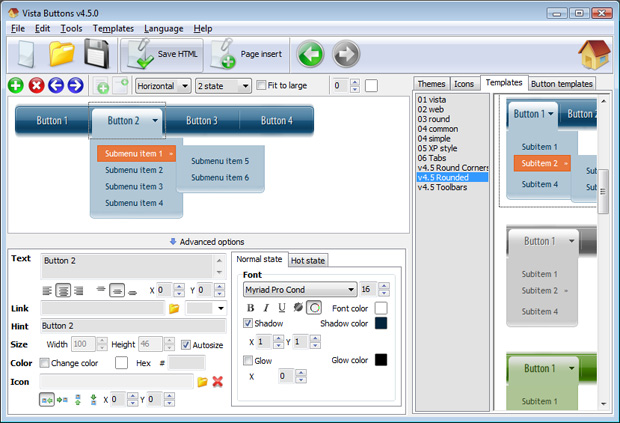
You can enter any name you like, for example enter "menu":
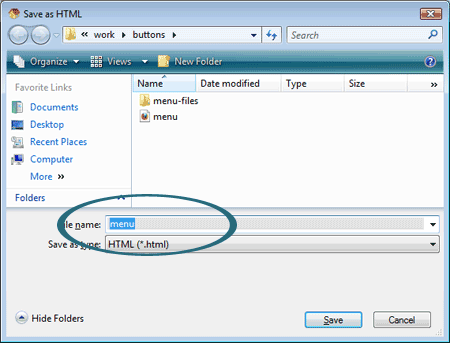
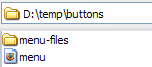
So you'll have menu.html file and "menu-files" folder with all menu files.
Insert a dreamweaver navigation to many pages using library
- Start Dreamweaver and open your website. When the website opens, it should look like this:
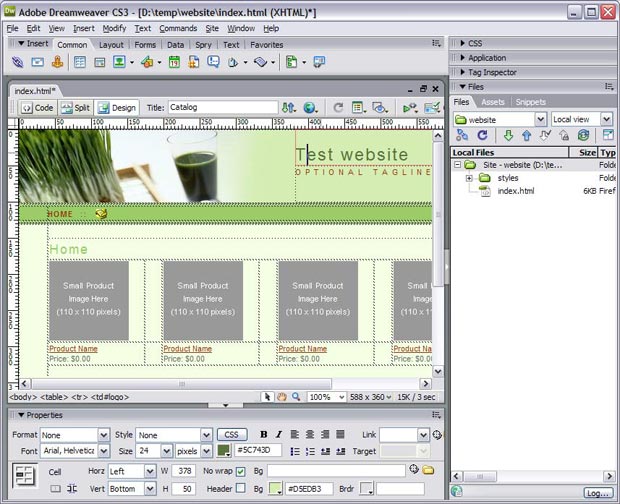
- To create the library item you should do the following things:
Create a new folder in the root of your website, for example "library". In this folder create a "New File" and name it menu.lbi.
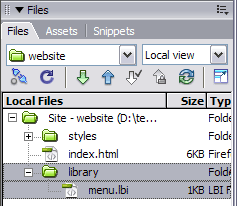
- Now you can add a javascript menu in your library. Open menu.lbi page (double-click menu.lbi in Files list window) and switch to the HTML View. Delete all code from this page. Open the generated in Vista Buttons menu.htmlpage in any text editor. Copy all code within the following tags:
<!-- Begin Vista-Buttons.com -->
...
<!-- End Vista-Buttons.com -->
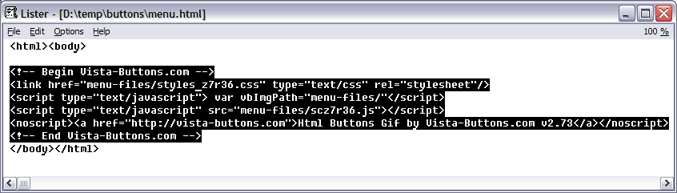
- Go back to Dreamweaver. Go to the "Edit Menu" with Dreamweaver and select the "Paste" option to paste the menu code that we copied to the clipboard earlier. To display images correctly you should change vbImgPath parameter. Find the following code
var vbImgPath="menu-files/"
and change it to
var vbImgPath="library/menu-files/"
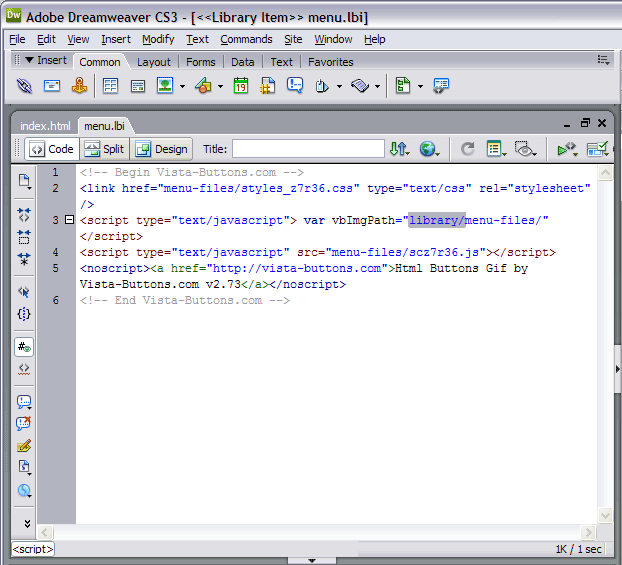
- Save you menu.lbi file.
- Now you should copy the "menu-files" folder into the same folder with your menu.lbi library file ("library" folder).
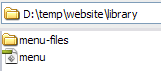
- Create two pages and insert the library item to the pages.
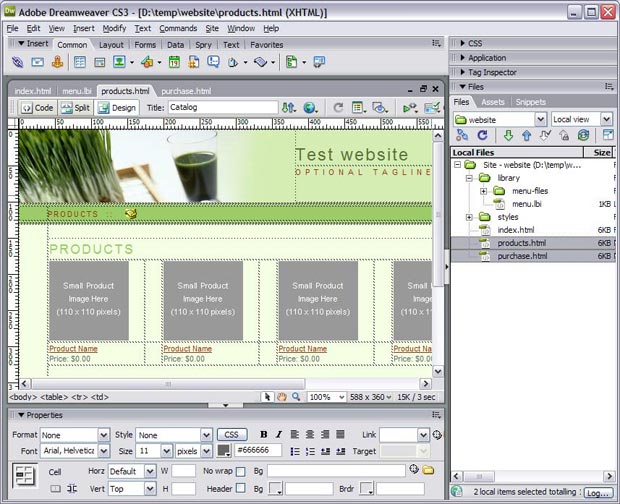
- Open "Assets" tab in the Files list window. Select "Library" tab in the left side of this window. Drag the library item into your pages respectively. So, all your pages will have the same navigation. Save your page now.
- Repeat the previous step for all pages where you want to have the javascript menu.
- Notice that in the Design mode your menu won't display. It is normal. You should view your page in browser.
- That's all. You've added all necessary code to your page, so let's test it. Select "File/Preview in browser/IExplore" to display the page live (in Internet Explorer).
- If everything goes well, save and publish your website. If something seems wrong, double-check that you followed all the steps correctly.
- If you still run into trouble, we'd be happy to assist you further. You can post your problem to us at

, and meanwhile describe your files in details.
Support
Please contact Customer Support at
(please include template name in the message title)FAQ
- ".. How do I call my custom javaScript with clicked after i have the working HTML export for the go buttons."
- "..I want the web page navigation bar in the top frame but the sub menus to appear in the bottom frame."
- "..Can I set the pressed state of a javascript Dreamweaver Menu Extension after the page loads?"
- "..How do I make the sub-menu backgrounds non-transparent so that web page text that is behind the sub-menus when the website menus open does not appear?"
- ".. are you saying the button creater will be able to generate code that will enable my google editor to link into the images"
- "I can add as many levels as I want in the button generate program , but just one submenu button per level in the ..."