Features
Css Drop Down Menus Create drop down menus based on css using Dreamweaver Menu Extension. Make various styles for each submenu item adjusting css styles.
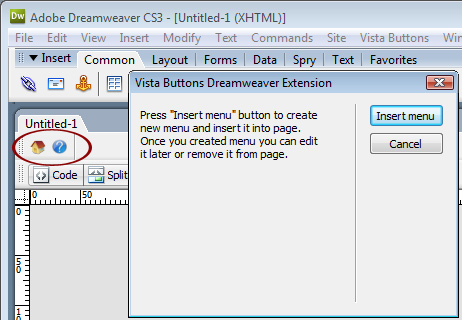
Free Navigation Bar With Submenu Dreamweaver Fully Customizable Every button or menu parameter can be easily customized in Dreamweaver Menu Extension to fit your web site design and your needs. Create your very own html menus, as simple or as complex as you want!
Code For Website Folder Tabs Menu Easy to UseWith Vista Web Buttons clear and comprehensible interface, you need just 4 simple steps to get your web buttons or html menu ready and if you use a pre-designed sample as a base you'll end up even faster!
Dreamweaver Php Dynamic Menu Tutorial Dreamweaver Screen Icon Names Ready to use button templates and submenus themes. In the Themes toolbox you can choose selected buttons and submenu themes for web appearance.
Widest cross-browser compatibility The html menus generated by Dreamweaver Menu Extension run perfectly on all old and new browsers, including IE5,6,7,8, Firefox, Opera, Safari and Chrome on PC, Mac, and Linux. Dreamweaver Menu Extension menus have a structure based on HTML list of links (LI and UL tags), readable by any search-engine robots and text browsers.
Great Looking Web Navigation with Minimum Effort Dreamweaver Menu Extension provides 500+ web buttons, 100 submenu designs, 6600+ icons, 50 ready-made samples, so you'll create really nice looking website html menus and html buttons with little or no design skills at all! Vista, XP, Win98, Mac, Aqua buttons, round, glossy, metallic, 3d styles, tab menus, drop down menus will be a breeze!
2.0 Buttons by Web-Buttons.com v3.0.0 


 (please include template name in the message title)