Features
Multilanguage User Interface (MUI) Since the version 2.79 Dreamweaver Menu Extension supports the multilanguage user interface. Dreamweaver Menu Extension is translated into the numerous of languages such as: German, Dutch, French, Italian, Spanish, Portugues, Arabic, Polisch, Romanian, Hungarian, Bahasa Malaysia.
Menu Emergente Para Mac Text-based menu You can create a menu with text-based top items. Such menu will be loaded more quickly on your website (in comparison with image-based navigation).
Menu structure is comprised of HTML nested UL and LI tags. Standards compliant menu structure is simple to customize and update.
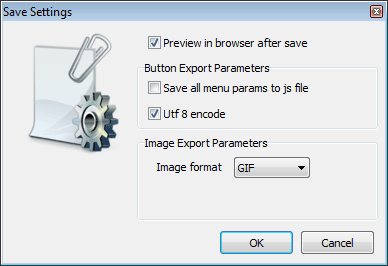
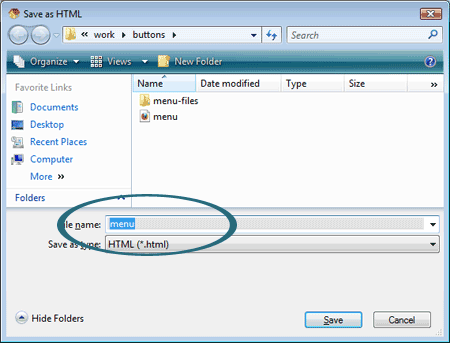
Onmouseover Dreamweaver 8 Save project. Save your image buttons as html You can save current project in the project file (*.xwb) or into the HTML file (*.html).
Dreamweaver Project Looks Wrong In Browser Dreamweaver List Style Widest cross-browser compatibility The html menus generated by Dreamweaver Menu Extension run perfectly on all old and new browsers, including IE5,6,7,8, Firefox, Opera, Safari and Chrome on PC, Mac, and Linux. Dreamweaver Menu Extension menus have a structure based on HTML list of links (LI and UL tags), readable by any search-engine robots and text browsers.
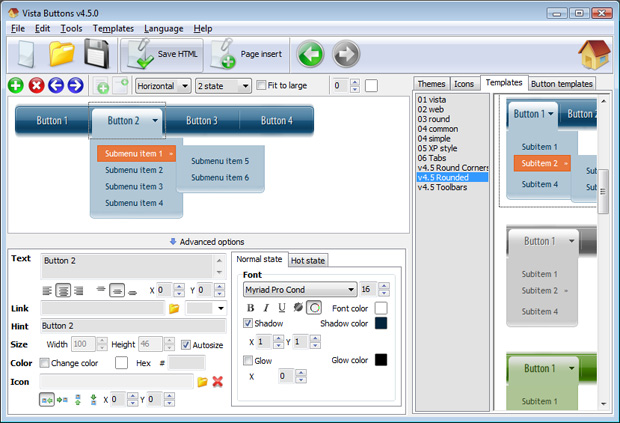
Easy to UseWith Vista Web Buttons clear and comprehensible interface, you need just 4 simple steps to get your web buttons or html menu ready and if you use a pre-designed sample as a base you'll end up even faster!
Orientation of the Menu Create both horizontal and vertical menus and submenus with any amount of menus on one page.
2.0 Buttons by Web-Buttons.com v3.0.0 


 (please include template name in the message title)